Uploading Images
You have two options for uploading your images, each with different benefits:
- You can use the "Galleries" backend page
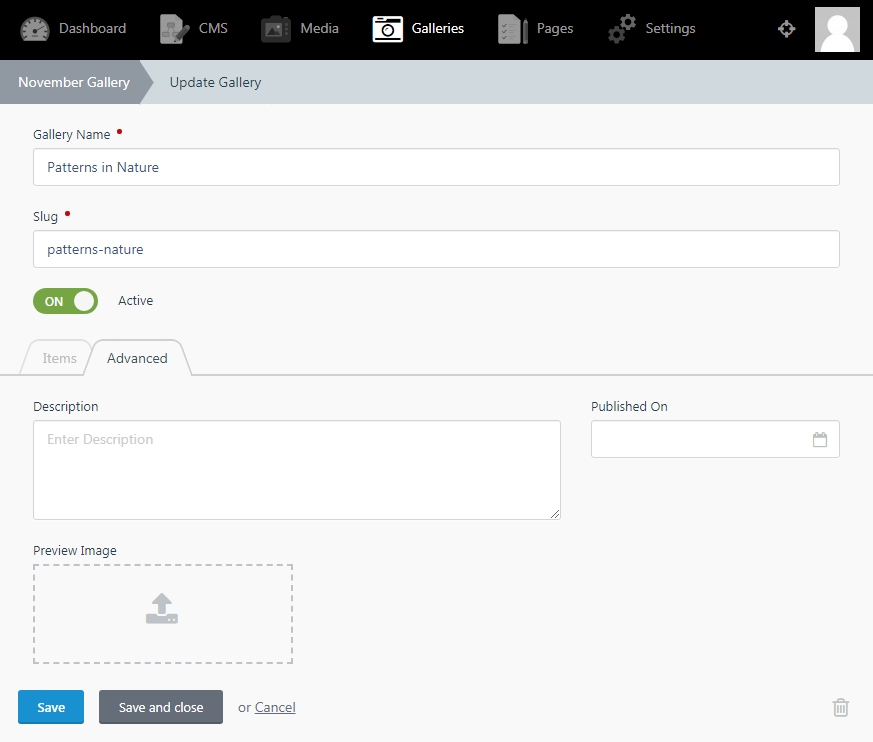
- + you can add additional "meat" information pertaining to your gallery, such as a publication date, description, and a preview image
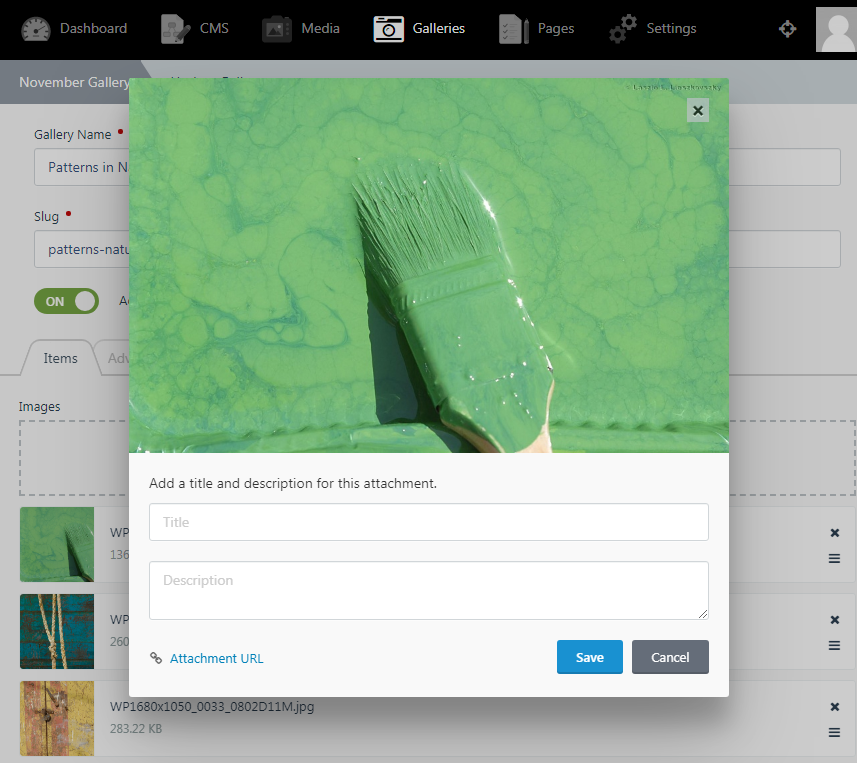
- + you can add a title and a description to each of the uploaded images
- Or, you can use the Media manager built into OctoberCMS
- + You can easily structure your images into folders (and even nest folders inside other folders)
- + You can easily upload and manage large numbers of images
Hint: The dedicated back-end November Gallery management page gives you more options for giving your images titles and subtitles, and you can also arrange the order easily; on the other hand, if you ever end up deleting the plugin, October will also delete all of your albums created there. Use the October built-in Media Manager to upload your images if you don't need the extra features provided by the November Gallery management page. Going the Media Manager route also allows you to upload hundreds of images using an FTP client or other file manager; this is not possible through the Gallery page.
Although the plugin will automatically generate thumbnails of your pictures, the full-size images will be displayed as-is. Therefore, it's a good idea to resize all of your pictures before uploading them to the gallery. A plethora of free options exist to help you with that, we ♥ FastStone Image Viewer (Windows), Fast Image Resizer (Windows), and Image Resizer for Windows. I'm sure there are great options for Mac as well - but watch a little Louis Rossmann to understand why Macs are evil so if you're on a Mac I'm sorry but I can't help you :-(
A typical screen resolution nowadays is around 1920 x 1680 pixels - so if you're looking to allow your users to see your pictures in top quality full-screen, then resize them to fit within these constraints.
Also, make sure that your photos are in a format that web browsers understand, such as .jpg or .png, or .gif (the latter is more suitable for graphics with fewer colors and geometric lines, such as charts or icons).
Finally, upload your pictures using the "Gallery" admin area, or through the October Media manager into the folders you created earlier.
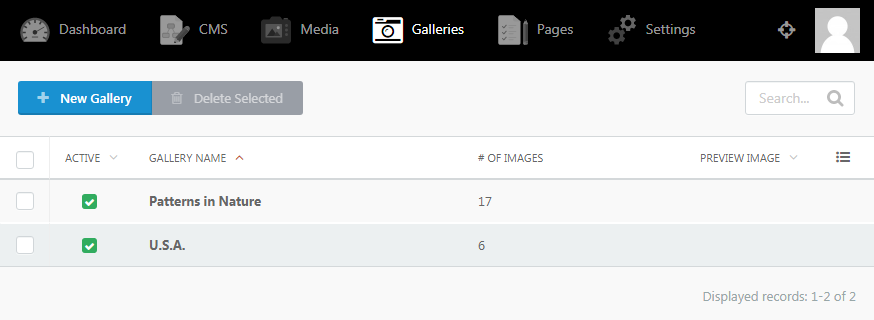
1) Create Galleries in the "Galleries" Area
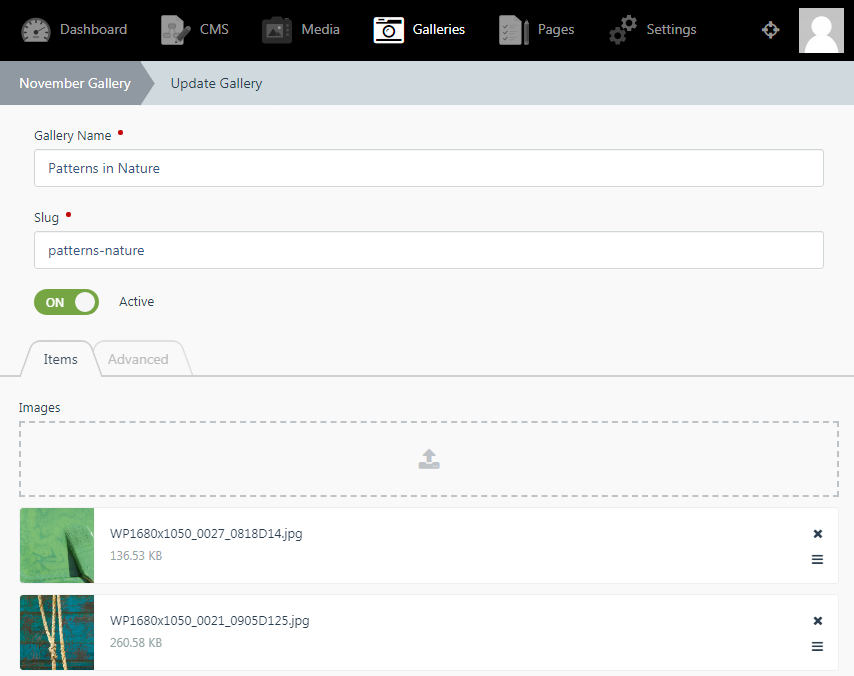
When you install November Gallery, it creates a new section in your site back-end. The "Galleries" page is fairly self-explanatory: you can create new galleries, and upload images into existing ones.
Click on any image to give it a title and a description:
On the "Advanced" tab you can set a publication date for your gallery, a description, as well as a preview image:
You can then select your uploaded galleries from the component inspector:

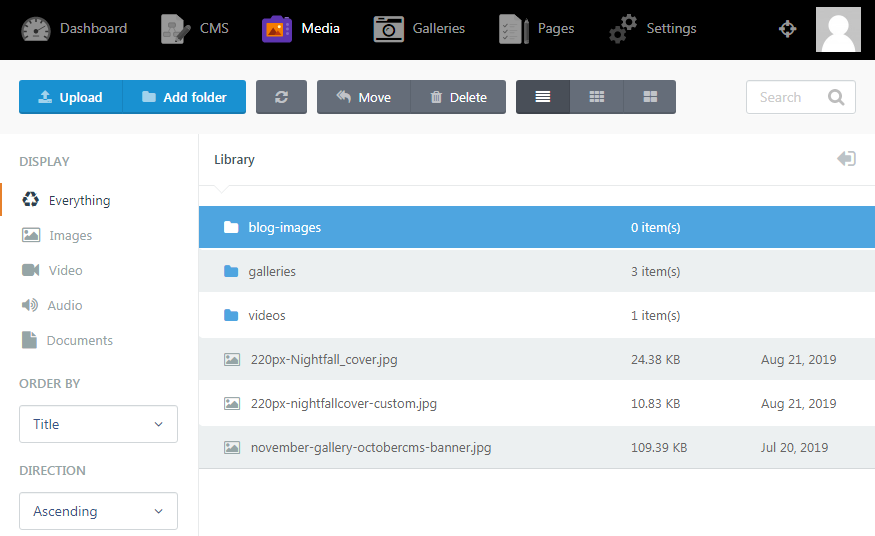
2) Upload using the OctoberCMS Media Manager
Alternatively, you can upload your galleries using the OctoberCMS built-in media manager.
Images must be organized into folders. Although you can use any folder structure that you'd like, we recommend that you create a folder and create separate folders underneath that folder to store your albums. You can optionally create a "root" folder to store (subfolders of) images, and a separate "root" folder to store videos, and even a third "root" folder to store images for your blog. We also recommend not to use spaces in folder names - it's better to use dashes or underscores instead. Also, it is customary to use lowercase when creating folders for publishing on the web.
So, your folder structure may look like this:
- my_galleries
- my_travels
- 2018-argentina
- 2015-vietnam
- 2010-hungary
- cat_pictures
- awesome_vacuum_cleaners
- my_travels
Finally, upload your pictures using the OctoberCMS Media manager into the folders you created earlier.
Here is a walk-through of the process:
Underneath your "root" folders, create sub-folders for each "gallery":
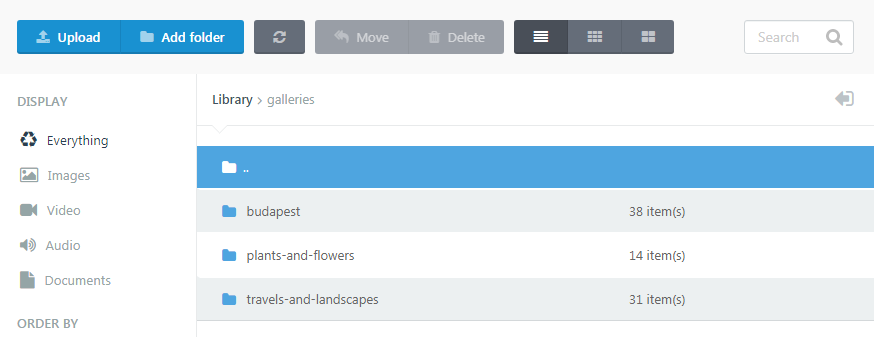
And upload the images there.
Go to your November Gallery Settings and select your "root" image folder:
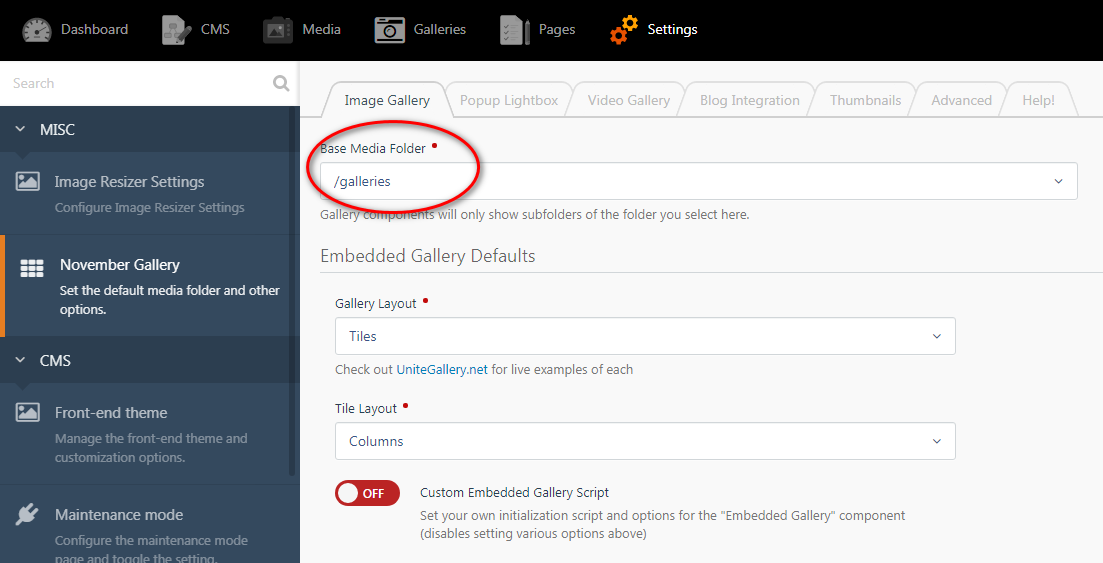
You can also set separate root folders on the "Video Gallery" and the "Blog Integration" tabs.
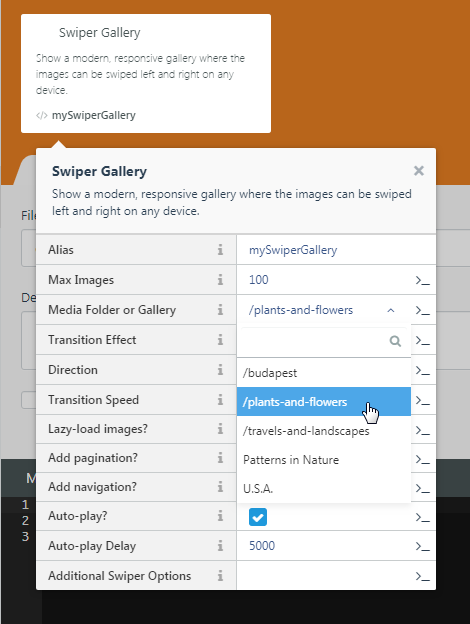
You can then select your uploaded galleries from the component inspector (folders will be preceded with a "/"):
Uploading using FTP
This is the most robust way for uploading many pictures at once to your site. Use an FTP client such as FileZilla (Windows) or WinSCP (Windows) or Panic Transmit 5 (Mac) and connect to your server. Your media files will be located in public_html/storage/app/media. You can create new folders through FTP as well, and if you then use the back-end media manager, you'll see them.
Automatic Thumbnail Generation
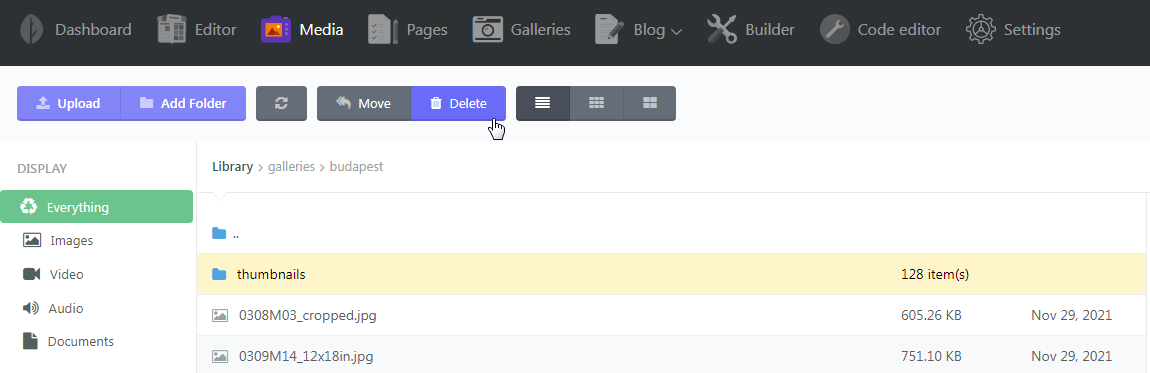
The plugin will automatically generate thumbnails for your images. You can disable this functionality, or set some options (such as thumbnail jpg quality, and default width/height) in the plugin configuration page. A subdirectory named "thumbnails" will be created under each backend media folder whenever a viewer first visits the given gallery. If you upload new images, or re-upload existing ones, new thumbnails will be generated. You can also manually force the thumbnails to be re-generated by deleting each "thumbnails" subdirectory:
No Comments